I've been knitting lots and lots of blocks lately! Some for a new pattern and some in an attempt to put a dent in my unreasonably large supply of foam blocks.
Milestone Blocks
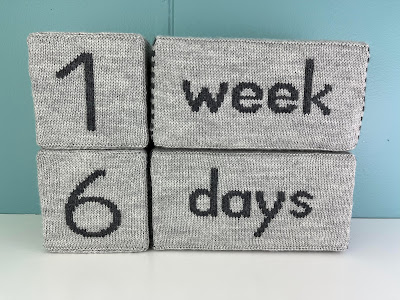
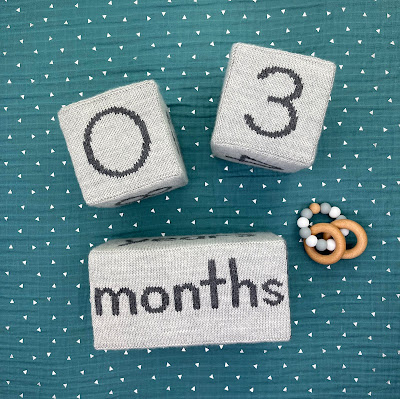
The Milestone Blocks are my newest block pattern. I've received multiple requests over the years via Etsy for this version of my knitted blocks, so I decided to have a go at designing some.
Just adapting my Baby Blocks pattern wouldn't work since there wouldn't be enough room on the small blocks for the lettering to make the words. For the Milestone Blocks, I went up to 4" foam (instead of 3") and reduced the yarn weight to fingering (instead of worsted.) I also decided to include a wider block for the words to go with the number cubes. These changes allowed plenty of room for attractive letters and numbers on the new design. I'm really happy with how they turned out!
Blocks in Progress
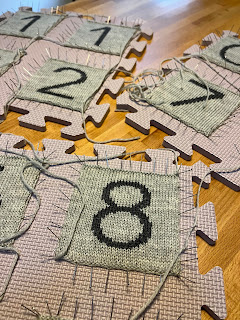
Here's a little look behind the scenes as I finished the blocks. After finishing the knitting and adding the numbers and letters with duplicate stitch, I blocked all of the pieces. While this step isn't necessary, it makes the finished blocks look nicer.
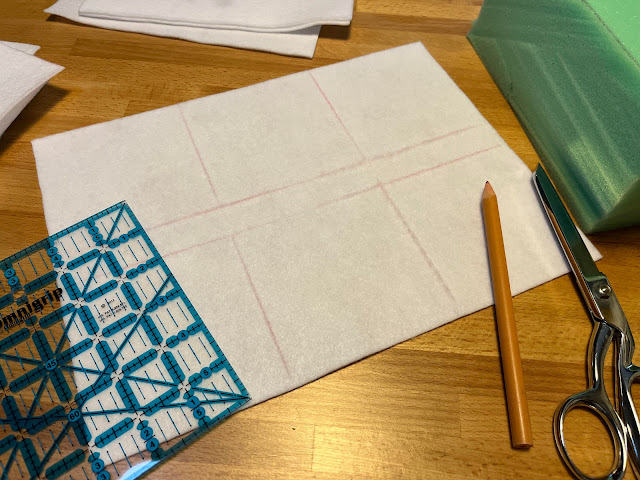
While waiting for the pieces to dry, I cut the foam. I purchased a third of a yard (one foot) of 4" thick foam from my local craft store. With a yard stick and a permanent marker, I drew lines on it marking where I would cut. This piece will make three sets of blocks. I then used an electric carving knife to cut the pieces.
I noticed that the green color of the foam was showing through the knitted fabric, so I used white felt to cover the blocks first. I cut pieces to the measurements of each side and whip stitched the seams together with thread. No need for it to look super neat since it will be covered up.
Next, I started sewing together the pieces. There is a diagram in the pattern showing how to sew the numbers together on each cube. There is a purl ridge at the top and bottom of each piece, and orienting the pieces as shown makes sure that there will be a ridge on each edge of the cube.
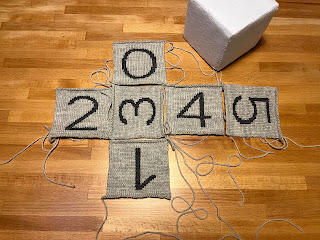
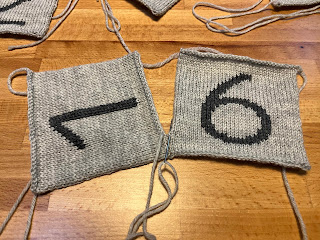
Once the pieces are all attached, I place them around the foam block and continue seaming. I weave in as many ends as possible before adding the foam, as it is much easier to do before it is added.
After the number blocks are completed, I move on to the word blocks. They just have one long seam on the piece with the words. Then each end is sewn in place.
The blocks are all finished and ready for a photo shoot!
I used
Knit Picks Stroll for these blocks. It is a great sock yarn with lots of color options and is also very soft and washable.
Baby Blocks
I like getting a good deal. Years ago I bought a huge roll of 3" foam with the reasoning that I'd pay less buying in bulk and thinking I would need lots of it for stocking my Etsy shop with blocks.
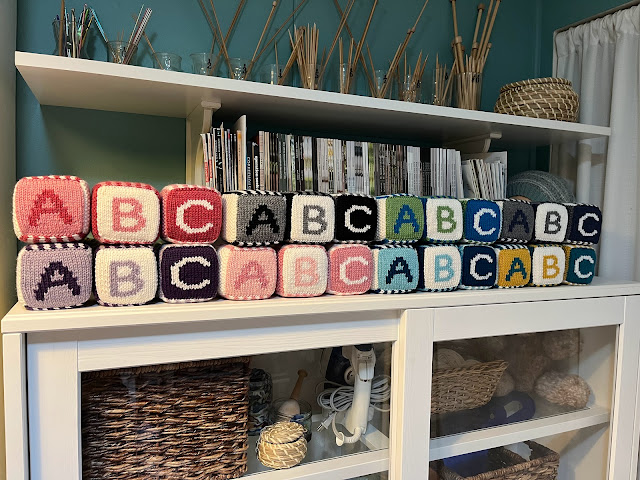
While it was indeed a better deal, I underestimated just how many foam blocks I would get out of such a large piece of foam. I also didn't consider the need to store these foam blocks somewhere. So, I've still got two large plastic containers filled with foam blocks just waiting for the knitted pieces to be sewn around them. I've been trying to use up some of these blocks and have made quite a bit of progress!
Here's a look at some of the sets I've finished and been adding to my
Etsy shop. I'll write another post soon with more photos and details about choosing colors.









Comments
Post a Comment